


Mercedes interior trim repair ranges from minor scuffs to structural issues, caused by wear, accidents, or normal use. Accurate identification of repair needs is key, with DIY options for simple fixes and professional services for severe cases. Gather specific tools, materials, and parts for your Mercedes model online. Proper preparation ensures a professional result. Research thoroughly, follow a systematic approach, and take safety precautions for successful home repairs.
Considering a DIY approach to repairing your Mercedes’ interior trim? It’s feasible with the right knowledge and tools. This comprehensive guide walks you through understanding common interior damage, gathering essential parts and materials, and provides a step-by-step process for successful home repairs. Learn how to tackle cracks, fading, and more, saving time and money while maintaining your luxury vehicle’s aesthetic appeal.
- Understanding Mercedes Interior Trim Damage
- Gathering Tools and Materials for Repair
- Step-by-Step Guide to Successful Home Repairs
Understanding Mercedes Interior Trim Damage

Mercedes interior trim damage can range from minor scuffs and scratches to more significant issues like torn or broken panels. It’s important to understand the type and extent of the damage before attempting any repair, as this will dictate the appropriate course of action. Common causes include wear and tear, accidental damage, or even normal use by vehicle occupants. In some cases, factory-fitted trim may become loose or misaligned over time, leading to a need for adjustment or replacement.
Identifying the specific type of Mercedes interior trim repair required—be it simple touch-ups or more complex structural repairs—is crucial. Auto body repairs involving interior trim often require specialized tools and knowledge of automotive design nuances. While some minor fixes can be tackled by DIY enthusiasts, more severe cases may necessitate the expertise of professional vehicle repair services.
Gathering Tools and Materials for Repair

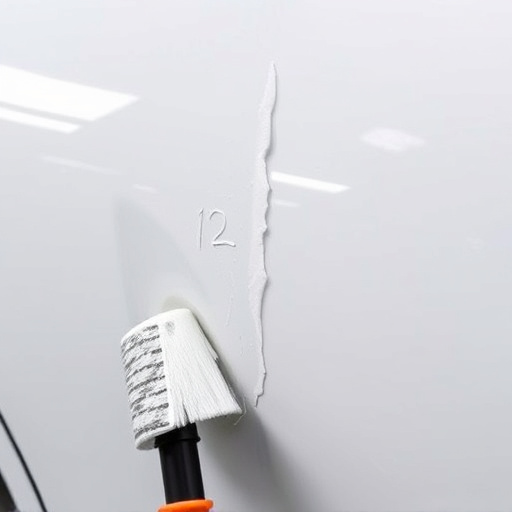
Before tackling any Mercedes interior trim repair, ensure you have all the necessary tools and materials. This might include specialized screwdrivers for navigating tight spaces within your vehicle’s cabin, as well as adhesive and replacement parts specific to your Mercedes model. Online resources can be invaluable in guiding you towards the right supplies, helping you avoid visits to a costly vehicle body shop or car collision repair center. Remember, proper preparation is key to achieving a professional-looking result that matches your Mercedes’ original quality.
Gathering the correct materials for dent repair or other interior trim issues allows you to tackle the problem directly in the comfort of your home. With patience and attention to detail, many minor repairs can be handled yourself, saving time and money. Just make sure to research thoroughly and consider the specific requirements of your Mercedes interior trim repair project before getting started.
Step-by-Step Guide to Successful Home Repairs

Performing Mercedes interior trim repair at home can seem daunting, but with a systematic approach and the right tools, it’s achievable. Start by gathering all necessary materials, including replacement parts specific to your Mercedes model. Create a workspace in your garage or a well-lit area where you have ample room to work. Ensure good lighting to spot any intricate details and potential issues.
Next, follow these steps:
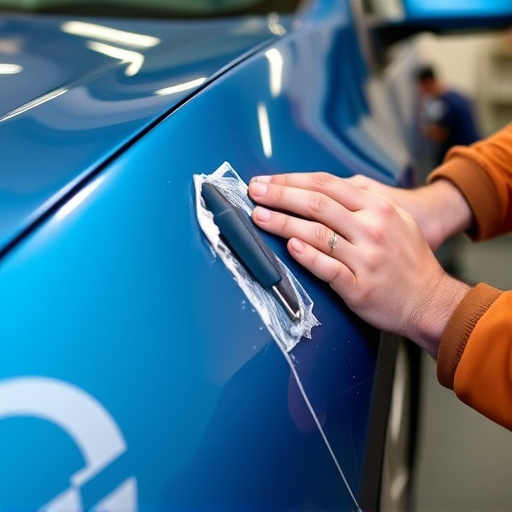
1. Preparation: Put on protective gloves and eye gear for safety. Gather all tools required, such as screwdrivers, adhesive, and trim removal tools.
2. Remove Damaged Trim: Carefully take out the damaged or old interior trim pieces using the appropriate tools. This may involve detaching electrical components, so be cautious and refer to your vehicle’s manual if needed.
3. Clean and Prepare Surface: Thoroughly clean the area where you’ll be applying new trim. Remove any debris or dust to ensure a strong bond.
4. Apply Adhesive: Use the recommended adhesive for automotive interior repairs and apply it evenly to the back of the new trim piece.
5. Install New Trim: Position the new trim carefully, ensuring precise alignment. Press firmly to create a secure bond.
6. Cure and Let Dry: Follow the manufacturer’s instructions for curing time. Avoid handling or applying pressure until the adhesive has fully set.
Performing Mercedes interior trim repair at home is a feasible option for those with basic DIY skills. By understanding common damage types, gathering the right tools and materials, and following a structured guide, you can successfully restore your Mercedes’ interior to its original state. While it may take some time and effort, this approach offers cost savings and convenience, allowing you to tackle minor trim repairs yourself before seeking professional help for more complex issues.