


Mercedes interior trim repair ranges from simple scratch repairs with color-matched patches to complex issues needing replacement parts and paint. Professional services utilize specialized tools and high-quality materials, including scrapers, knives, air compressors, adhesives, and fillers. The meticulous process involves assessment, preparation (cleaning, ventilation), dent removal, sanding, filling, painting, and final inspection to restore Mercedes interior trim to brand standards.
Mercedes owners know their vehicles are more than just a means of transport—they’re an investment. Properly repairing damaged interior trim isn’t just about aesthetics; it preserves the car’s value. This guide delves into advanced techniques for Mercedes interior trim repair, equipping you with the knowledge to address common issues effectively. From understanding damage types to mastering restoration methods, we cover essential tools, materials, and step-by-step processes, ensuring your Mercedes remains a testament to quality and craftsmanship.
- Understanding Mercedes Interior Trim Damage
- Essential Tools and Materials for Repair
- Step-by-Step Guide to Restoration Techniques
Understanding Mercedes Interior Trim Damage

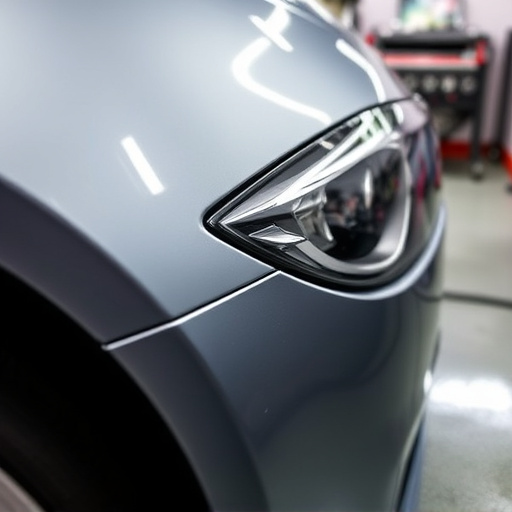
Mercedes interior trim damage can manifest in various ways, from minor scuffs and scratches to more severe issues like cracks, tears, or complete detachment. Identifying the type and extent of the damage is crucial for effective Mercedes interior trim repair. Different materials, such as leather, vinyl, and plastic, require specialized techniques and products for restoration.
For example, a simple scratch in a vinyl seat can often be repaired using color-matched patches and adhesives, while more complex damage might necessitate replacement parts or even vehicle paint repair to match the original finish. Professional car repair services with experience in Mercedes models are best equipped to assess and address these issues, ensuring not only visual restoration but also maintaining the high standards of quality and craftsmanship associated with the Mercedes brand.
Essential Tools and Materials for Repair

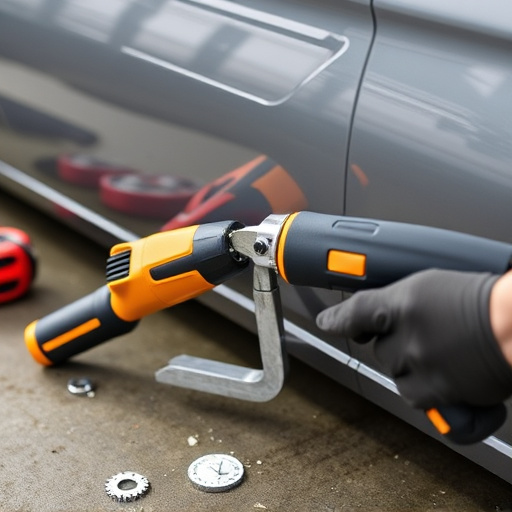
When tackling Mercedes interior trim repair, having the right tools and materials is paramount to achieving professional results. For this delicate task, a well-equipped toolkit should include specialized tools such as fine-toothed scrapers, plastic knives, and air compressors for cleaning and shaping. Additionally, high-quality adhesives designed specifically for automotive interiors, along with matching color-themed repair compounds and fillers, are essential for seamless integration with the existing trim.
Beyond these basics, an automotive body shop or collision repair center may require additional items like dent removal tools, sandpaper of various grits, and a clear coat to ensure a flawless finish. Investing in these crucial materials will not only streamline the repair process but also contribute to a superior final product that matches the meticulous craftsmanship found in Mercedes vehicles.
Step-by-Step Guide to Restoration Techniques

Restoring Mercedes interior trim involves a meticulous process that requires precision and expertise. Here’s a step-by-step guide to help you achieve professional results for your Mercedes interior trim repair:
1. Assessment: Begin by thoroughly inspecting the damaged area. Identify the extent of the dent removal or scratch repair needed, taking note of any underlying components affected. This stage is crucial in determining the appropriate repair techniques and materials to use.
2. Preparation: Prepare the workspace by ensuring adequate ventilation. Gather all necessary tools and materials, including specialized automotive restoration products designed for Mercedes interiors. Clean the surface thoroughly to remove any dirt or debris that could compromise the bond during the repair process.
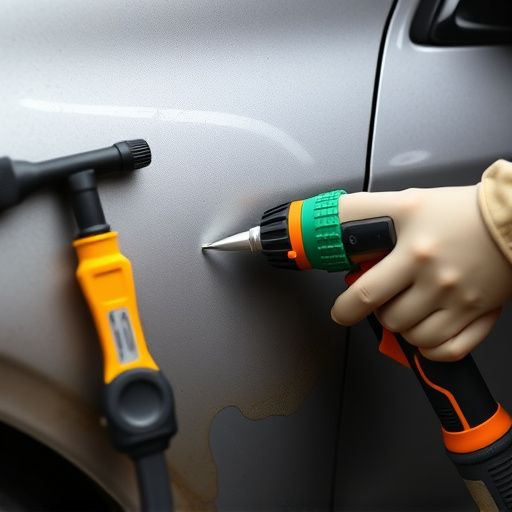
3. Dent Removal: For minor dents, use a dedicated dent removal tool to push out the depressed panel without damaging surrounding surfaces. This technique is highly effective for shallow depressions and can often restore the original contour of the trim.
4. Scratch Repair: Deeper scratches may require a multi-step approach. Start by sanding the affected area gently with progressively finer grits of sandpaper to create a smooth base. Fill in scratches using automotive-grade filler, allowing it to dry completely. Once firm, lightly sand again and apply an appropriate touch-up paint or clear coat for a seamless finish that matches the Mercedes’ original color.
5. Adhesive Application: In cases where pieces need to be reattached or replaced, use high-quality automotive adhesives suitable for plastic and vinyl. Follow the manufacturer’s instructions for application and cure time.
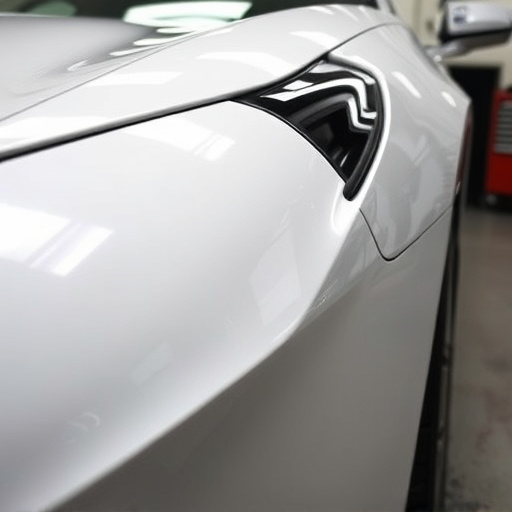
6. Finishing Touches: After all repairs have been made and adhesives have set, inspect your work once more. Fine-tune any areas that require additional attention. A final polish can enhance the restored trim’s appearance, bringing it back to its original condition.
Mercedes interior trim repair is a specialized skill that, when mastered, can restore vehicles to their original elegance. By understanding common damage types and employing advanced techniques discussed in this article—backed by the right tools and materials—you’ll be well-equipped to tackle repairs effectively. Whether it’s a cracked dashboard or faded trim, these step-by-step guides ensure precise restoration, preserving the luxury and sophistication of your Mercedes.