


Assessing damage is crucial in deciding between repairing or replacing Mercedes interior trim. If isolated, like a cracked dashboard, repair is cost-effective and eco-friendly, using specialized tools to clean, fix, and refinish materials. Replacing specific components, such as door panels or steering wheel trim, maintains aesthetic appeal and functionality, requiring genuine parts and precise measurements. Collision centers provide honest assessments, guiding informed decisions based on your car's value.
“When it comes to your Mercedes, choosing between replacing or repairing interior trim isn’t just about cost. It’s a decision that impacts both the vehicle’s aesthetics and longevity. This article guides you through the process, focusing on the key indicator—assessing damage. We explore the benefits of professional restoration for those seeking top-tier results. Additionally, a step-by-step guide is provided to help you replace specific components, empowering you to make an informed choice for your Mercedes interior trim repair.”
- Assessing Damage: When Repair Becomes Necessary
- The Benefits of Professional Mercedes Interior Trim Restoration
- Step-by-Step Guide: Replacing Specific Components
Assessing Damage: When Repair Becomes Necessary

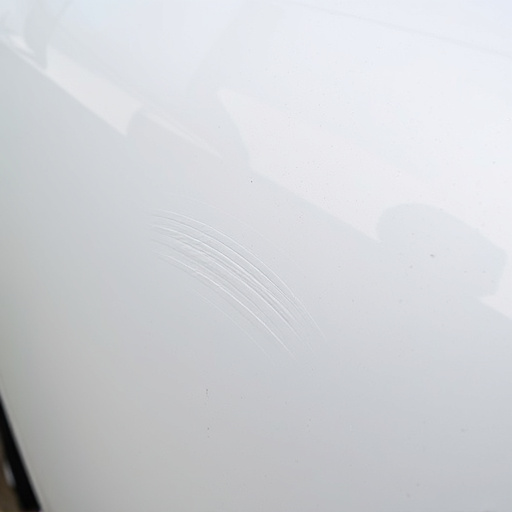
Assessing damage is a crucial step when deciding between replacing or repairing Mercedes interior trim. If the damage is confined to a few isolated areas, such as a cracked dashboard or faded upholstery, repair might be the most practical and cost-effective option. Professional Mercedes interior trim repair services can often restore these components to their original condition, saving you money compared to complete replacement.
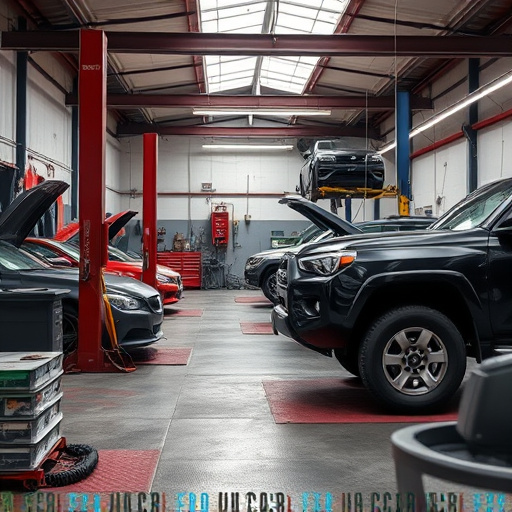
However, if the damage is widespread—involving multiple parts, deep scratches, or structural integrity issues—replacement may be the better choice. A collision center can provide an honest assessment of the overall condition of your vehicle’s interior trim during auto maintenance checks. They will help determine whether the cost of repair aligns with the value of the car, guiding you towards the best decision for your investment.
The Benefits of Professional Mercedes Interior Trim Restoration

Restoring your Mercedes interior trim to its original condition can offer numerous advantages over replacement. Professional restoration services have the expertise and specialized tools required to meticulously clean, fix, and refinish various types of vehicle interiors, from leather and fabric to wood and plastic. This process not only preserves the aesthetic value but also maintains the integrity of the vehicle’s overall build quality.
Moreover, opting for a professional Mercedes interior trim repair can be more cost-effective than complete replacement. Restoring damaged or faded elements can extend the lifespan of your vehicle’s interior, delaying the need for more significant upgrades. It’s especially beneficial in cases of minor damage, such as scratches, tears, or discolored areas, which can be expertly mended without having to replace entire panels. This approach also aligns with sustainable practices by reducing waste and preserving valuable materials used in Mercedes automobiles.
Step-by-Step Guide: Replacing Specific Components
Replacing specific components of your Mercedes interior trim is a great way to maintain its aesthetic appeal and functionality. Here’s a step-by-step guide for tackling common issues:
1. Identify the Problem Area: Start by carefully inspecting your interior for damaged or worn-out parts, such as door panels, dashboard, or steering wheel trim. Look for cracks, tears, or loose fittings.
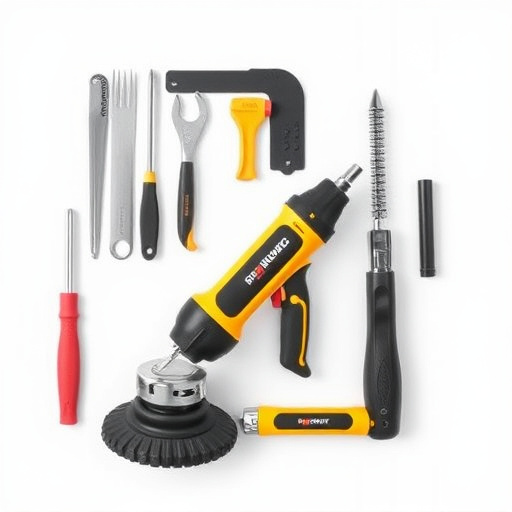
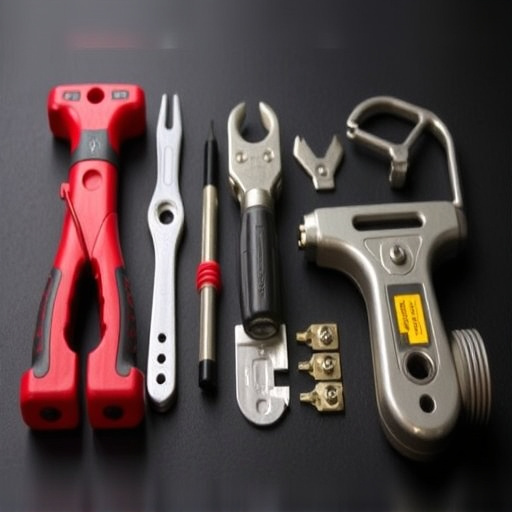
2. Gather Necessary Tools and Parts: For a successful replacement, gather all required tools like screwdrivers, pliers, and a putty knife. Ensure you have the correct Mercedes-Benz genuine parts to maintain vehicle integrity. Auto body work requires precision, so double-check your measurements and order the exact fit for a seamless repair.
3. Remove the Damaged Component: Carefully take out the damaged part, unfastening any screws or clips securing it in place. Use a putty knife to gently pry off stubborn pieces if needed.
4. Prepare the New Part: Clean the new component to remove any debris or old adhesive residue. Ensure it fits perfectly into its designated space.
5. Apply Adhesive (if required): Some components may require an adhesive for a secure bond. Follow the manufacturer’s instructions and use a suitable bonding agent designed for auto bodywork.
6. Reattach and Secure: Carefully fit the new piece in place, aligning it precisely with surrounding trim. Secure it using screws or clips, ensuring a tight fit.
7. Clean and Finish: Remove any excess adhesive or debris, then inspect your work. Once dry, buff the area to blend it seamlessly with the rest of the interior.
When deciding between replacing or repairing your Mercedes interior trim, a thoughtful assessment of damage and consideration of professional restoration benefits can guide your decision. While replacement offers a fresh start, professional repair preserves original quality and craftsmanship. Following a step-by-step guide for specific component replacements empowers owners to take on minor repairs themselves. Ultimately, the choice depends on the extent of damage, desired aesthetics, and personal preference, with both options offering viable paths to restore your Mercedes’ interior trim to its finest state.