


Before restoring your Mercedes interior trim, inspect for damage, gather tools and materials including sandpaper, wood filler, primer, paint, brushes, heat gun, and collision repair supplies. Wash the trim, assess deeper issues, refine with wood filler and varnish/sealant to protect from environmental damage and everyday use.
Restoring your Mercedes’ wood grain interior trim not only enhances its aesthetic appeal but also adds value. This step-by-step guide will walk you through repairing your Mercedes interior trim effectively. Begin by assessing any damage and gathering necessary materials, ensuring you have the right tools for the job. Next, prepare and clean the surface thoroughly to achieve a smooth base. Finally, refinish and protect the wood grain for a stunning, like-new finish.
Assess Damage and Gather Materials
Before beginning the restoration process, it’s crucial to assess the extent of the damage to your Mercedes interior trim. Carefully inspect the affected area, noting any cracks, scratches, or discoloration. This step is essential as it determines the necessary repair techniques and materials. For instance, minor scuffs might only require a touch-up paint job, while deeper gouges may demand sanding and refinishing.
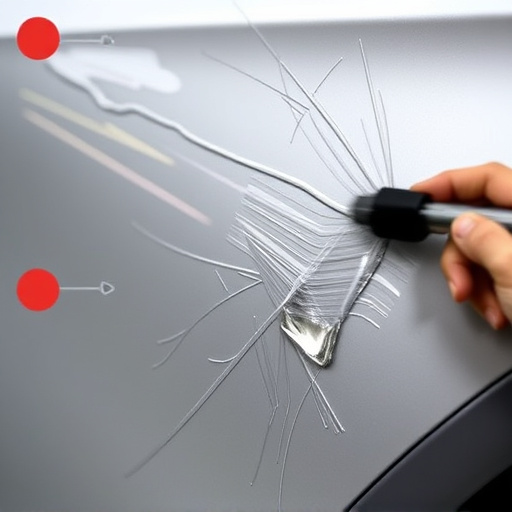
Gather all the required tools and materials for an effective Mercedes interior trim repair. This includes sandpaper of various grits, wood filler or putty, primer, paint (matching your trim’s color), brushes, and possibly a heat gun for curing adhesives. Additionally, consider having automotive collision repair supplies on hand to ensure you’re prepared for any potential Autobody repairs needed during the restoration process.
Prepare and Clean the Surface
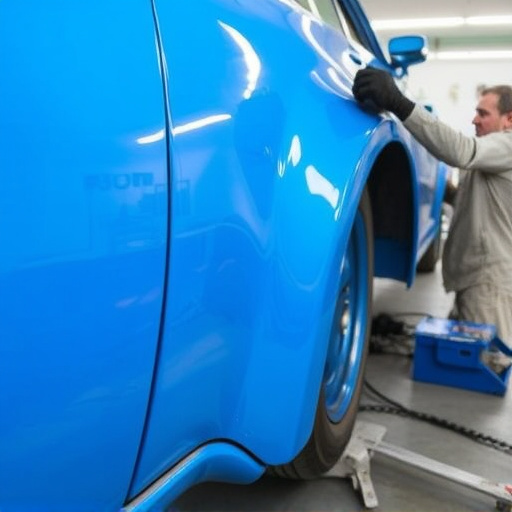
Before starting any restoration process on your Mercedes interior trim, ensuring the surface is clean and prepared is paramount. Begin by removing all loose debris, dirt, or any visible damage like cracks or chips using a soft-bristled brush or cloth. This step is crucial as it prevents the new finish from adhering to existing contaminants. Next, use a mild detergent and warm water to thoroughly wash the trim, ensuring every corner and crevice is clean. Rinse well with a damp cloth to eliminate any soapy residue, which could leave marks.
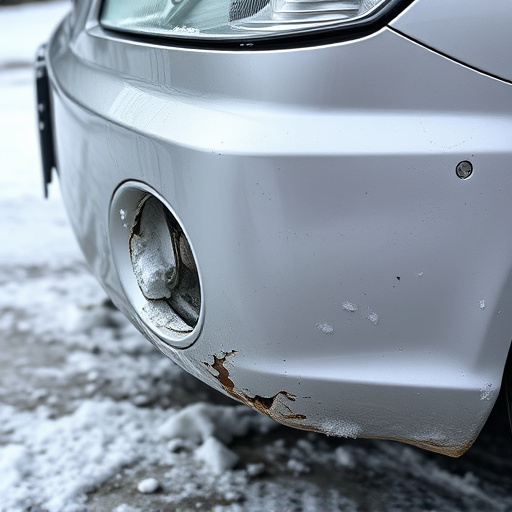
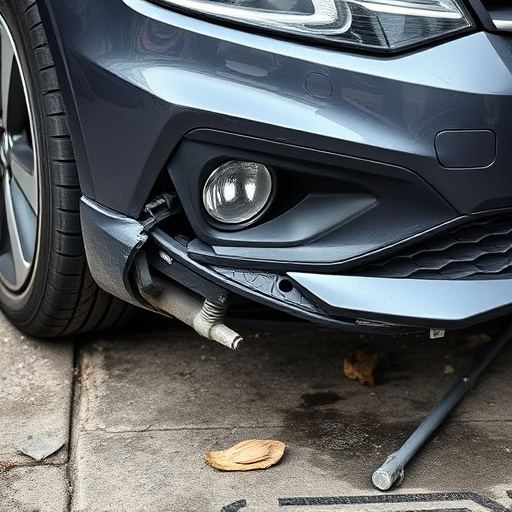
A careful inspection for deeper damage, like where a fender bender might have occurred, is essential. If there are gouges or discoloration, these will need to be addressed before proceeding with the restoration process. Most collision repair shops offer automotive restoration services that can fix such issues, ensuring your Mercedes interior trim looks as good as new.
Refinish and Protect the Grain
After sanding and cleaning the Mercedes interior trim to reveal the wood grain, it’s time to refine and protect this beautiful feature. Start by applying a high-quality wood filler to any imperfections or gaps in the grain, allowing it to dry completely. Once filled, gently sand the surface again to achieve a smooth finish that matches the surrounding trim.
Next, choose a suitable varnish or sealant designed for automotive interior wood grain. Apply this protective layer evenly across the trim, ensuring full coverage. This step not only enhances the visual appeal of the grain but also shields it from environmental factors, UV rays, and everyday wear and tear, thus prolonging the life of your Mercedes interior trim repair and car restoration efforts.
Restoring the wood grain on your Mercedes interior trim is a feasible DIY project with the right approach. By carefully assessing damage, preparing and cleaning the surface, and then refinishing and protecting the grain, you can revive the elegant look of your vehicle’s interior. With the right materials and some patience, you’ll have a beautifully restored Mercedes interior that stands out like new. Remember, proper care and regular maintenance will ensure the longevity of your wood grain trim, keeping your Mercedes looking its best for years to come. For effective Mercedes interior trim repair, these steps are key.